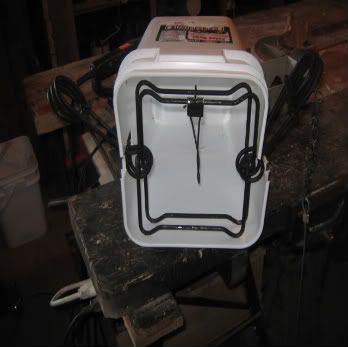
Post by sneakysnake on Nov 6, 2011 16:01:20 GMT -5
I have been needing to make a catch pole. I had read somewhere a year or so ago about making one with a clothes line tightner. So off to Walmart, where after some searching, I found the clothes line tightner. Then to the Hardware store. My delimina was to find something that the tightner would fit inside of and yet, be able to block off both ends to hold it tightner and keep it centered. I found all the parts I needed and went home and put it together. Here is a parts list and photos to help you if you choose to make one. I made mine 5 foot long, only because the hardware store had a piece of schedue 40 PVC pipe and just gave me the last foot, after I had only wanted 4 foot. I would make it 4 ft, if I were you cause 5 ft is a little much. I used 3/32nds cable on mine cause that is what I had. I would reccomend a heavier cable to reduce knicking. 3//16 or 1/4 may be best. You decide.
Parts list
Clothes line tightner from Walmart
(2) 1 1/2 inch pogo washers
(1) 2 1/2 inch washer with 1 inch hole in the middle
(1) 2 inch washer with 1 inch hole
(6) self tapping screws 1 1/4 inch long
(2) 3/16ths by 3/8 inch pop rivets
(2) small washers
one inch to two in threaded reducer.
one two inch threaded to glued sleeve
2 1/2 to 1 1/4 inch reducer
one 1 1/4 end cap.
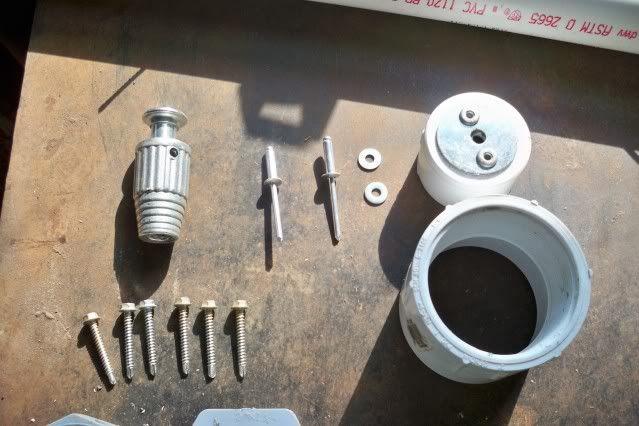
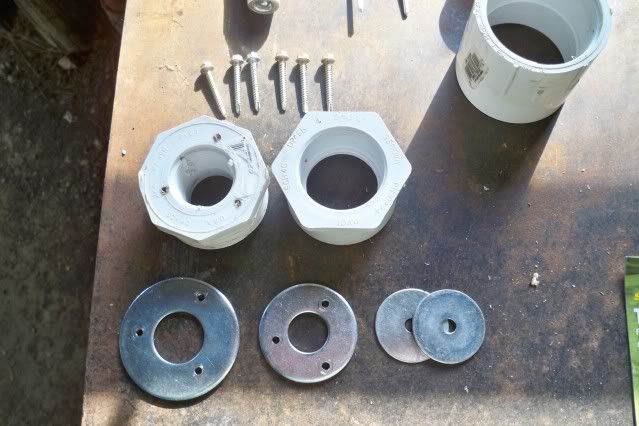
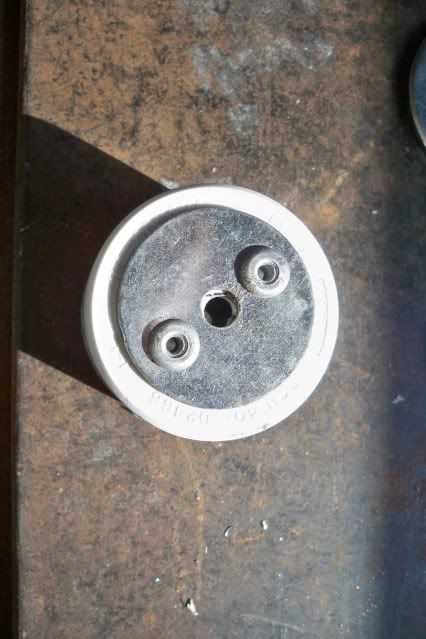
Take the 2 pogo washers, clamp them together and drill two holes. The pop rivets need to fit through these holes. Lay one washer on the end cap and drill one hole. Take the second pogo and put on the other side and put in on pop rivet. Drill the second hole through the end cap and add the 2nd pop rivet. Then drill out the center hole. These two washer should keep your cable from slicing though the schedule 40 pipe with extended use.
Take the two remaing washers and drill three holes through them that your self tapping screws will go through. Next, take the tightner and place inside the one inch hole on the one inch to two inch threaded collar. I pre drilled pilot holes for the self tappers on the drill press just to keep them straight. Be sure to put the tightner in the right way, with the pull part to the top.
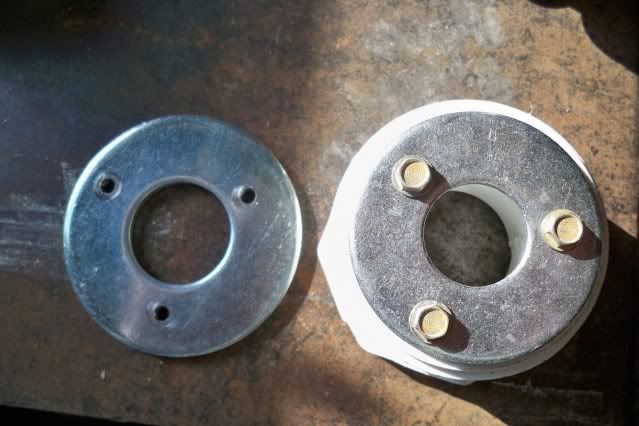
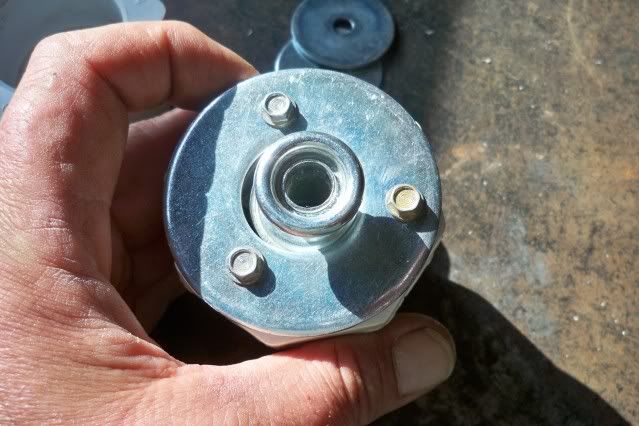
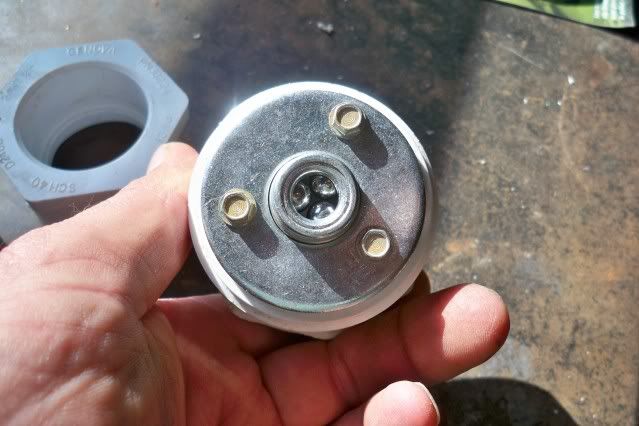
This is what it should look like when properly assembled.
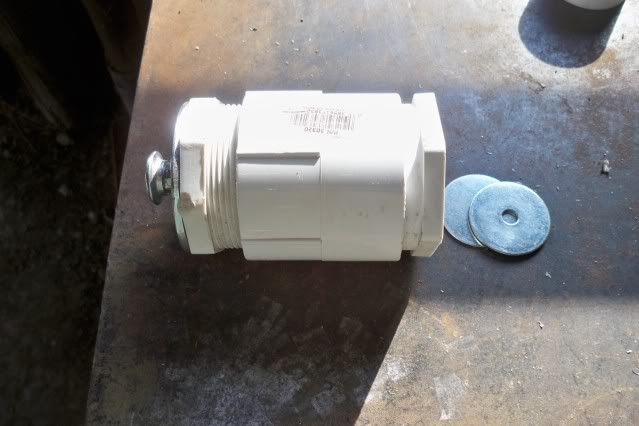
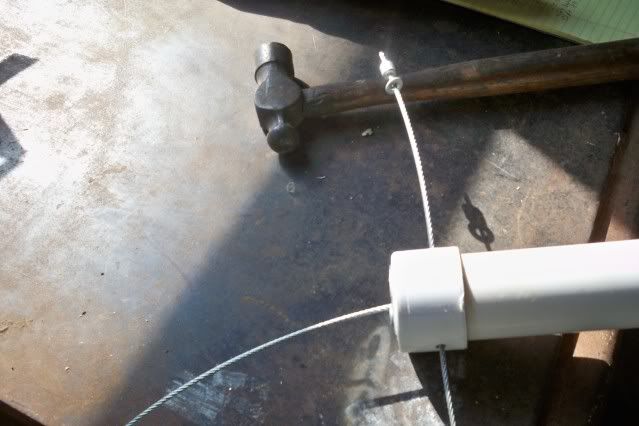
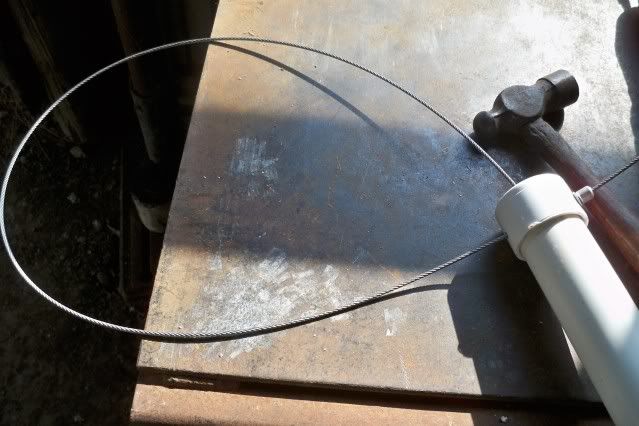
Take your cable, make the desired size loop in one end. While holding the tightner lever up, slide the cable though the tightner assembly and your section of pipe. Snap the reducer onto the pipe and glue if desired. I would not glue the threaded parts as that was designed as a way to take it apart to replace the cable should the need arise. Put the cable through the hole in the end cap and tap it with a hammer until it is down solid and tight. Take your drill and a bit large enough to allow what ever size cable you are using and drill a hole through the cap and pipe trying to get as amuch as 1/3 of the diameter of the pipe. Push the cable through the hole you just drilled, add a washer and then put on the furrel. You should be done. Once you pull the cable tight, the tightner should hold and not slip back. This also should allow you to have a free hand.
Parts list
Clothes line tightner from Walmart
(2) 1 1/2 inch pogo washers
(1) 2 1/2 inch washer with 1 inch hole in the middle
(1) 2 inch washer with 1 inch hole
(6) self tapping screws 1 1/4 inch long
(2) 3/16ths by 3/8 inch pop rivets
(2) small washers
one inch to two in threaded reducer.
one two inch threaded to glued sleeve
2 1/2 to 1 1/4 inch reducer
one 1 1/4 end cap.


Take the 2 pogo washers, clamp them together and drill two holes. The pop rivets need to fit through these holes. Lay one washer on the end cap and drill one hole. Take the second pogo and put on the other side and put in on pop rivet. Drill the second hole through the end cap and add the 2nd pop rivet. Then drill out the center hole. These two washer should keep your cable from slicing though the schedule 40 pipe with extended use.

Take the two remaing washers and drill three holes through them that your self tapping screws will go through. Next, take the tightner and place inside the one inch hole on the one inch to two inch threaded collar. I pre drilled pilot holes for the self tappers on the drill press just to keep them straight. Be sure to put the tightner in the right way, with the pull part to the top.


This is what it should look like when properly assembled.

Take your cable, make the desired size loop in one end. While holding the tightner lever up, slide the cable though the tightner assembly and your section of pipe. Snap the reducer onto the pipe and glue if desired. I would not glue the threaded parts as that was designed as a way to take it apart to replace the cable should the need arise. Put the cable through the hole in the end cap and tap it with a hammer until it is down solid and tight. Take your drill and a bit large enough to allow what ever size cable you are using and drill a hole through the cap and pipe trying to get as amuch as 1/3 of the diameter of the pipe. Push the cable through the hole you just drilled, add a washer and then put on the furrel. You should be done. Once you pull the cable tight, the tightner should hold and not slip back. This also should allow you to have a free hand.


